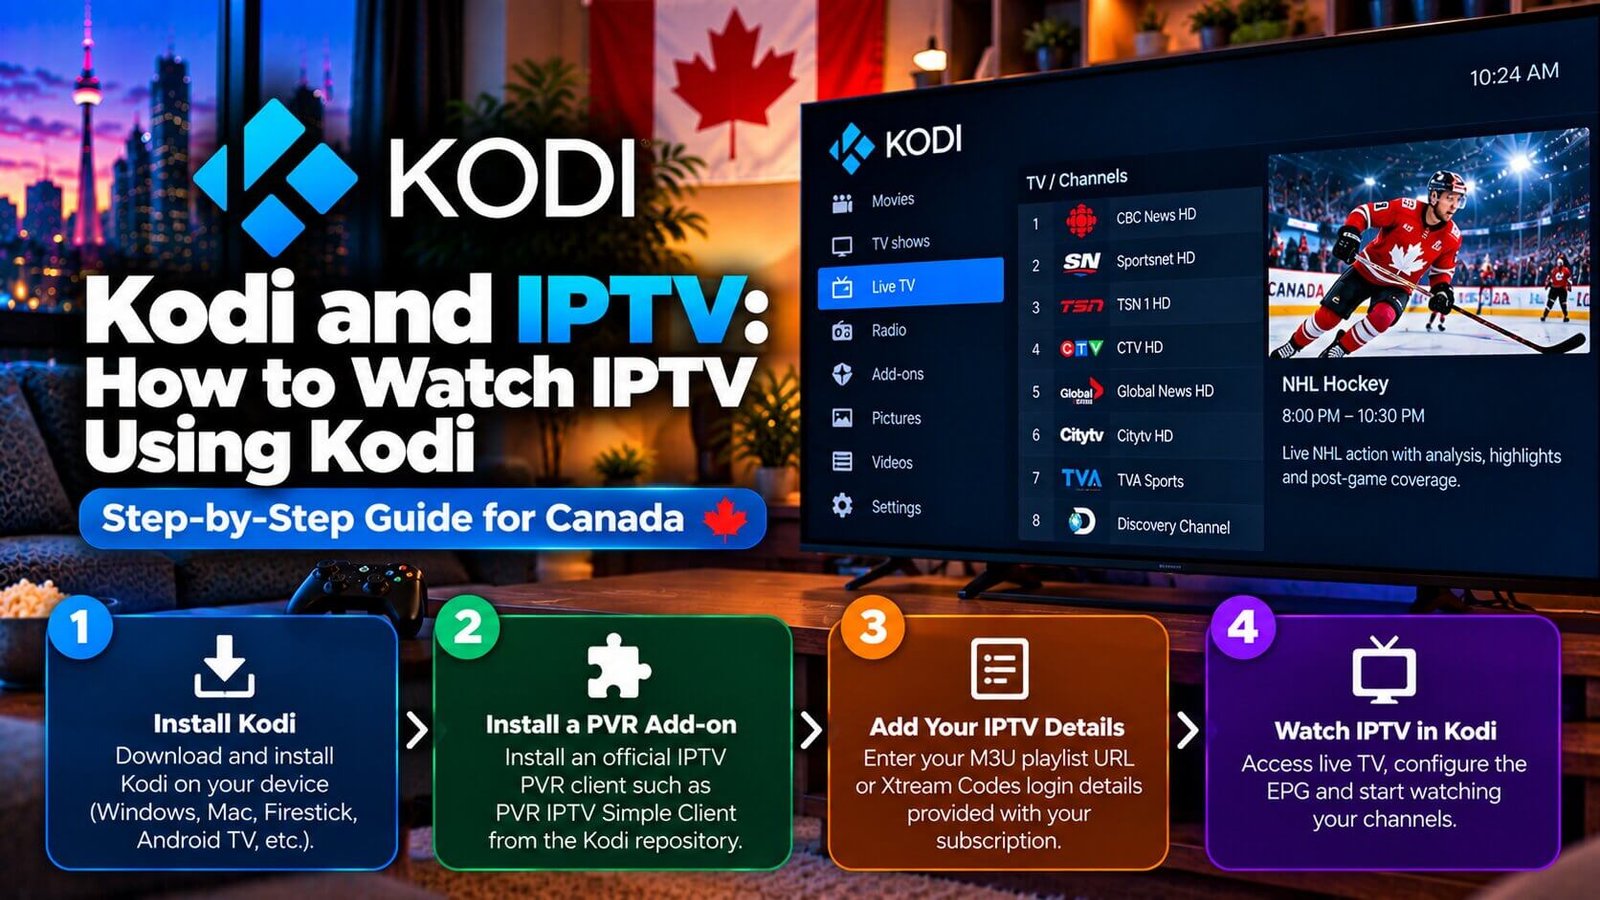
Kodi is a free, open-source media center application that many Canadian subscribers already use for organizing local media, and a common question from existing users is whether kodi and iptv can work together with an existing subscription. The short answer is that Kodi supports IPTV through an add-on system rather than a built-in feature, and this guide walks through installing that add-on, adding your playlist, setting up the on-screen guide, and deciding whether Kodi is the right long-term choice compared with a dedicated player app.
Kodi and IPTV: What Kodi Can Do
Kodi and IPTV can work together, but Kodi itself is a general-purpose media center, not an IPTV provider or a dedicated player app; it does not include any channels or content on its own. To use kodi iptv player functionality with an existing subscription, you install a separate PVR (Personal Video Recorder) or IPTV client add-on from Kodi’s own official add-on repository, which then connects to your provider’s playlist in a similar way to a standalone player app.
Because Kodi is open-source and community-maintained, the exact add-on names and menu wording can change between versions, so it is worth checking Kodi’s current official add-on repository for the currently maintained option rather than assuming a specific add-on name will always be available.
Kodi itself runs on a wide range of devices, including Windows and Mac computers, Android boxes and phones, and some Firestick and Android TV models, though the exact steps for installing Kodi in the first place vary by platform and are outside the scope of this guide, which focuses on adding IPTV once Kodi is already installed and running.
Step 1: Install a PVR/IPTV Add-on in Kodi
From Kodi’s main menu, PVR and IPTV client add-ons for iptv on kodi are typically found under the add-on browser, filtered to the PVR clients category. Installing an add-on from Kodi’s own official repository is the safest approach, since it avoids relying on unofficial third-party repositories that are outside the scope of what this guide covers or recommends.
After installation, Kodi usually needs to be restarted, or the PVR feature enabled from its settings menu, before the newly installed add-on becomes available for configuration in the next step.
If the add-on browser does not show a PVR client option at all, confirming that your Kodi installation is a recent, currently supported version is a reasonable first step, since older Kodi versions may organize add-on categories differently or may no longer receive updates to some official add-ons.
Step 2: Add Your Playlist or Xtream Codes Details
Once the add-on is installed and enabled, you will typically be asked to configure it with your subscription details, which may be an M3U playlist URL or a set of Xtream Codes-style login fields (a server URL, username and password), depending on which add-on you installed and what your provider supplied. Entering these details exactly as provided is usually enough to populate your channel list; if your channel list does not appear correctly the first time, double-checking for typos in the URL or login fields is a reasonable first troubleshooting step.
Some add-ons separate the playlist and EPG configuration into different settings screens, so if your channel list loads but appears incomplete, checking whether a separate configuration step was missed is worth doing before assuming the playlist itself is faulty.
Depending on the add-on, you may also need to trigger a manual channel-list refresh or restart Kodi’s PVR manager after entering your details, rather than the channel list updating automatically the moment you save your settings. This step is easy to overlook and is a common reason a freshly configured add-on appears to show no channels at first.
Step 3: Set Up the EPG Inside Kodi
If your IPTV provider supplies a separate EPG (electronic programme guide) source URL, most PVR add-ons include a distinct field for it, separate from the playlist URL itself. Adding this correctly allows Kodi’s built-in TV guide interface to display programme titles and times alongside your channel list, rather than showing channel names with no schedule information.
EPG data can take a few minutes to populate fully after first being added, so if the guide initially looks empty or incomplete, waiting a short period and checking again before assuming something is misconfigured is a reasonable approach.
Kodi’s guide display settings, such as how many days of programme data to show or how channels are grouped, can usually be adjusted separately from the EPG source itself, within Kodi’s general PVR and EPG settings menus, which is worth exploring once your basic setup is working correctly.
Kodi vs Dedicated IPTV Apps: Which Should You Use
If you already use Kodi regularly for other media and want everything in one place, adding iptv with kodi through a PVR add-on can be a convenient option that avoids switching between separate apps. If you do not already use Kodi for other purposes, a dedicated player app such as IPTV Smarters Pro or TiviMate, covered in our other setup guides, may offer a more straightforward, purpose-built interface without needing to learn Kodi’s broader media-center features first, and some subscribers prefer keeping iptv for kodi as a secondary, occasional option rather than their main setup.
Neither option is inherently better for every household; the right choice depends on whether you value Kodi’s existing media library integration or prefer a simpler, single-purpose app.
It is also worth considering device performance. Kodi is a fuller-featured application than most dedicated IPTV player apps, and on older or lower-powered hardware, it may run less smoothly than a lighter, purpose-built app designed specifically for streaming playback. If you notice slower menu navigation or playback issues in Kodi that you do not experience in a dedicated app on the same device, this is a reasonable trade-off to weigh against Kodi’s broader media-organizing features.
For Kodi and IPTV, both approaches can work well; the more useful question is which one fits how you already use your devices day to day, rather than which one is technically superior in isolation.
Frequently Asked Questions
Do I need a special add-on to watch IPTV in Kodi?
Yes. Kodi does not play an IPTV subscription without a PVR or IPTV client add-on installed from its official add-on repository; the add-on is what connects your playlist or login details to Kodi’s interface.
Is Kodi free to use?
Kodi itself is free, open-source software. Your IPTV subscription remains a separate cost from your provider, and Kodi does not include any channels or content on its own.
Does Kodi support an EPG for IPTV channels?
Yes, most PVR/IPTV add-ons support adding a separate EPG source URL, which populates Kodi’s built-in guide interface with programme titles and times when your provider supplies that data.
Can I use Kodi on more than one device with the same subscription?
This generally depends on your provider’s own connection-limit policy rather than anything specific to Kodi; checking how many simultaneous connections your subscription allows with your provider is the most reliable way to confirm this before setting up Kodi on multiple devices at once.
If you decide a dedicated player app suits you better than Kodi’s broader media-center approach, our comparison of IPTV player apps covers several alternatives, and our Installation Guide outlines general setup requirements across most devices. You can also start a free 24-hour trial to test your subscription in Kodi or another app before committing to a plan.
For an additional authoritative reference related to this topic, see Kodi official website.
Ready to test this on your own setup?
Review the Installation Guide for your device, then use the free trial to check the experience on your own connection before choosing a plan.